
Put some time aside this weekend to roll up your sleeves and get creative in the kitchen – in a slightly different way. From simple additions with widely available hardware to refashioning old sheets with a press of an iron and a needle and thread, you can do an awful lot with not very much. Let these ideas inspire your next craft-time craving.

Add some fabric accents
Whether you have the skills to whip up a quilted oven glove over a weekend or you simply have an eye for a pretty tea towel, beautiful fabric prints in the kitchen make the place feel instantly more homely.
Something anyone can have a go at is a table runner like this. Simply buy or repurpose a length of fabric that’s half a metre or so longer than the length of your table (vintage bed sheets work wonders). Turn it over and iron a double hem of about 2cm around each edge and either machine or hand-stitch in place. You could even use a strip of Bondaweb instead if you’re feeling lazy – it fuses material together when you iron it in place under a damp cloth.
Another idea is to frame your loveliest tea towel for the kitchen instead of a print. Lots of independent illustrators create beautiful designs on tea towels, so you’re getting a bit of art for a fraction of the price.
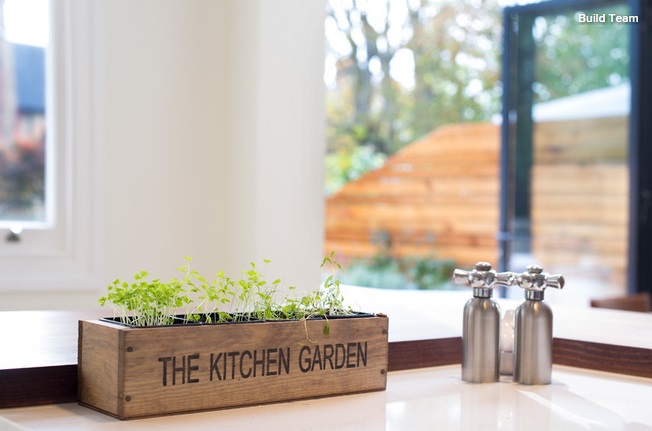
Pot a personalised herb garden
Introducing more greens into your life can only be a good thing. You can turn this into a weekend DIY by decorating a wooden planter (available from garden centres and online) with a set of letter or motif stamps and a pigment-based ink pad, such as Staz-On. You can get all of these in your local craft shop or online.
Stamp your herb names on each one to keep everything in order, or go for a fun saying or personalised statement. This type of thing makes a great house-warming gift, too.
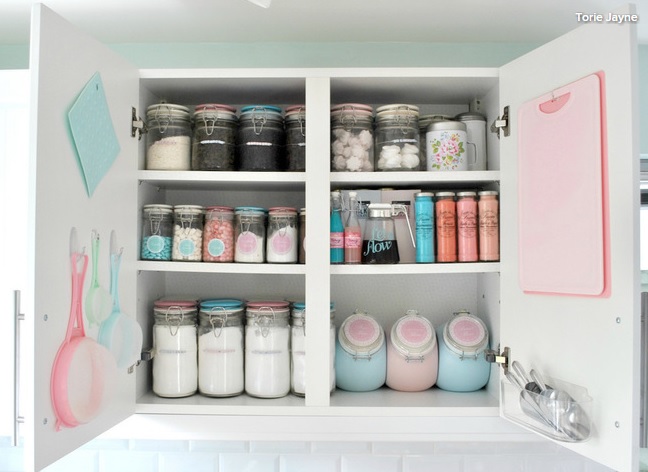
Label your jars
This one is so satisfying. Decant your sachets, packets and bags of ingredients, toppings and sprinkles into mason jars and other glass storage, then get to work on some cute labels to match.
You can buy ready-made sticky labels, or pick up a circular paper punch from a craft shop that will give you identical tags to write on. Fix any paper in place with spray adhesive (well away from your food).
Make more storage with hooks
So simple. All you need is a small wooden wall shelf unit and a few screw-in cup hooks. A trip to your local hardware shop and a little labour later, and you’ll have a series of spots for your favourite mugs to hang out.
Switch your handles
How about something more tactile? It’s pleasantly ergonomic having leather handles on your kitchen cabinets – a far softer choice than metal fittings, and warmer to the touch than porcelain or glass.
You can often screw your fancy new handles into the existing holes when you remove your current ones, securing each screw with a nut at the back. If there’s only one hole from removing an old knob rather than a handle, you can fold the leather over into a loop and fashion little tabs instead of handles. If there are no holes at all yet, you’ll need to drill. It may be best to practise on cheap freestanding furniture or a piece of wood first before you get to work on your fixed kitchen cabinets!
Make sure your leather strap is cut to a length that gives you ample holding and pulling space, create your holes in it with an awl (making sure you place a scrap piece of wood underneath it to protect your surface) and use flat-head screws to fix the handle in place.
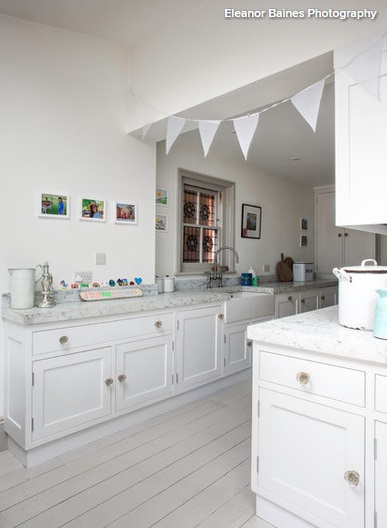
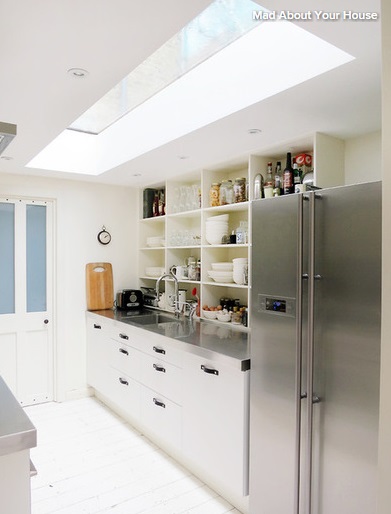
String up a little bunting
Now, don’t balk. Bunting doesn’t have to have the look of a school fair. Keep it simple, and in a solid colour rather than ditsy patterns, and go for a similar colour to your kitchen scheme – the all-white look shown here is so much more modern than the usual floral flags.
All you need for this is a medium-weight cotton fabric, a cardboard triangle template (or try semicircles for a more unusual, scallop-edge finish), scissors, and ready-made bunting tape on which to string them all together, using a needle and thread or a sewing machine.
If you’re not keen on sewing, cut your triangles out with pinking shears to prevent the fabric from fraying. Or go for an oilcloth fabric instead of cotton, which won’t fray even when you cut it with regular, straight-edge scissors.
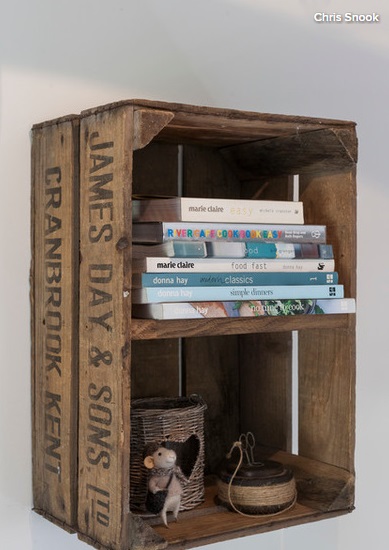
Commandeer a crate
Vintage apple crates are ripe for upcycling into all sorts of great storage. Try them as kitchen shelf units for your cookery books and other bits and pieces.
To clean them up for use in your kitchen, give them a little wash with a trisodium phosphate and water solution, then liberally spray with white vinegar, wipe off and leave to dry.
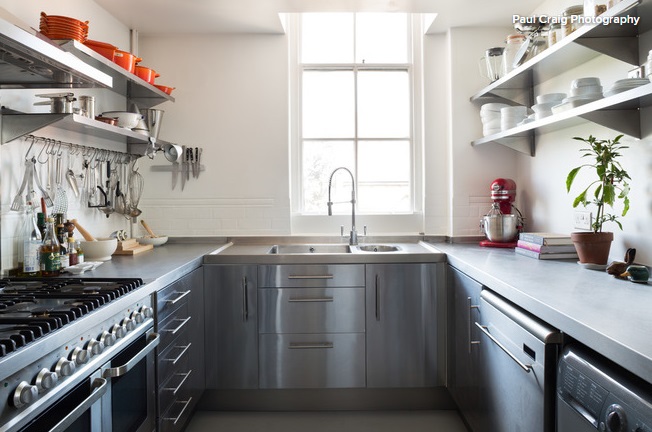
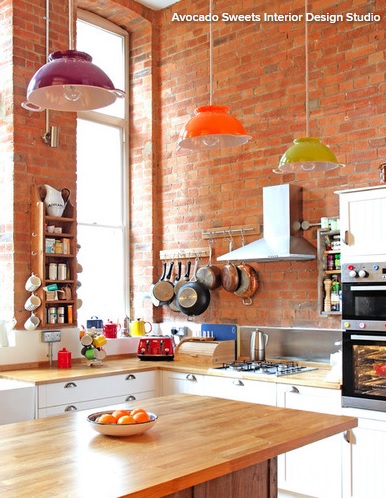
Put your tools on display
If you’re a keen cook, having everything to hand will be key in your kitchen. Get the pro chef look by installing your own steel rail and S hooks for utensils, and a magnetic bar for your knives. You can buy both pieces of kit ready-made online and in hardware shops. Then it’s just a matter of adding a little elbow grease and you’re cooking.
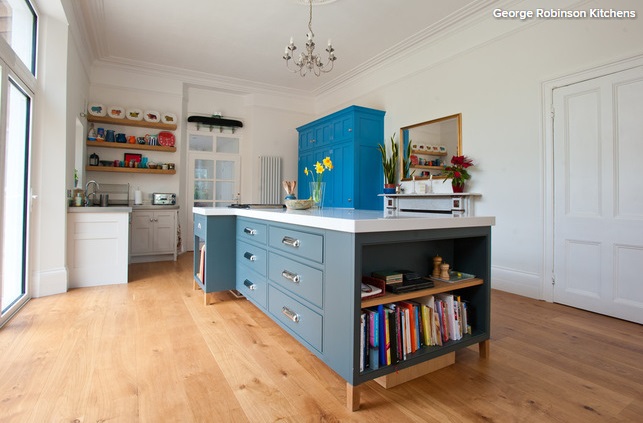
Pack a punch with paint
For a striking change that won’t break your weekend budget, get the paints out and smarten up your cabinets.
You’ll need to remove all the handles and empty the contents before you get cracking. Wash your cupboards thoroughly and then give them a light sand, so the paint sticks to the surface. Do away with primer by using a one-coat paint, available from most specialists.
Source: Houzz